Posts Tagged With: halloween

Happy Halloween!

Hi all and Happy Halloween! This is the last post from us here on the blog so one last time thank you all so much for your readership over the years, we appreciate every step of this journey you have taken with us. Have a great Halloween and above all happy crafting!!

happy halloween


Signing off for the final time,

The Crafting Ireland Team – Nicole and Timi

PS: We will miss you guys!!

Categories: craft | Tags:

Thanksgiving card & Halloween Decor – Aideen Fallon

Hi everyone,

Today we have a big treat for you – Aideen is going to share a super cute Thanksgiving paper piecing project with you all with a video….AND you get a bonus Halloween decor video too! Take it away Aideen…..

Project 1 – Thanksgiving

Hi guys,

Today I have a super easy peasy project that looks really cute when you have it all done up!

photo 1 (21)

It’s paper piecing which you may or may not have tried before-such a great way to use up your scraps of papers and create a card set for any occasion which is handy to have on hand.photo 2 (20)

I have a video sharing all the details so please take a peep HERE or watch below.

Project 2 – Halloween

I have a fun Halloween decoration to share today and also a video to show how I put it together!!

The stamp I used is by Julie Nutting and is perfect for my rosette decoration. The other decorative pieces are all just from my stash.

 You can see how I created these HERE or watch below.

Thanks for reading and watching,

Aideen x

Categories: craft | Tags: , , ,

Halloween Wall Hanging – Nicole

Hi all, Nicole here with a fun Halloween wall hanging with you all. I used the super fun and handy diecut frame from Crafty Cutting.

Step 1

I covered the frame with some fabulous Halloween papers. I traced the frame onto the paper to get the size and cut it out, including cutting out the middle of the frame.

pic 1 pic 2 Step 2

I cut a piece of paper to fit inside the opening of the frame. I used this fun harlequin pattern in black and orange.pic 3 Step 3

I sanded off the edges of the paper to get a smooth edge on the paper and then inked up the edges with black soot distress ink.pic 4 Step 4

I inked up a bat from the crafty catting range and then inked over it in black embossing powder to give a lovely shine.pic 5 pic 6 Step 5

I added some twine in between the two pieces to have something to hang the frame by.pic 7 Step 6

I added some glow in the dark paint on some parts of the paper. This dries clear but gives a cool glow when its dark!pic 8I glued the bat on the frame and called it done! I love the 3d effect and dimension these frames give without being too bulky!
pic 9


Thanks for stopping by today and hope you enjoyed this project!

Categories: craft | Tags: , , ,

Halloween Card & Treat Bag

Hi all, we have another treat from Waltzingmouse Stamps DT member Sandie Dunne. She has created this really fantastic Halloween Card and Treat Bag…. enjoy!!
WMS Logo
Hi! It’s Sandie here and today I am sharing a Halloween Card and Treat Bag set I made featuring  Waltzingmouse Stamps Boo and Friends & Peek a Boo Sentiments
The card measures 4.25″ x 5.5″ and the papers I’ve used are ‘Enchanted’ by Authentique. I’ve matted them with black and orange cardstock. I cut the spiderweb circle with nestabilities and mounted my ghost on 3D foam. I added some Spiderweb corners and some Eerie bats to embellish.
Copics markers used – C3, D5,C7, C9
The treat bag is simply a cellophane bag cut down to size. I used the same patterned papers as on the card. I cut a strip of stripey paper about 2″ deep, folded it in half, slipped it over the top of the bag and stapled it closed. Then I used nestabilities scalloped circles and classic circles for the sentiment. I adhered the sentiment, from Peek-a-Boo Sentiments with 3D foam and added a bat to tie it in with the card.
Waltzingmouse Stamps products used – 
Other products used –
Authentique “Enchanted” 6×6 paper pad
Sandie
xXx
Categories: craft | Tags: , , , , ,

Brain Wall Hanging!

Hi All,

Nicole here today with a fun little Halloween decor project. I adore this Zombie Girl stamp set from Sarah Hurley. It has two different sized brain stamps in it – how cool is that?! So I thought, what better to do with brains than make a wall hanging with them?!

Step 1

Stamp out lots of brains on lots of different colours of red card – a great way to use up scraps! When you stamp the brains and cut them out the backs will be plain. In order to be able to back the brains onto one another you will need to stamp half of your brains, cut them out and then stamp the brain on the back of it. It wont be perfect but will look fine.

step 1 step 2

I stamped the large brain and the small ones too….step 3 Step 2

Lay out your brains in a pattern you want. I die cut some stars in black to intersperse with the brains!step 4 Step 3

Use nylon – invisible – thread to join them all together. step 5 Step 4

Ink the edges of all the brains.step 6 Step 5

To put it all together I put tape runner adhesive on the back of one brain. I made a loop of the nylon thread and stuck it to the tape. I then took one of the brains that had been flipped and stamped on the back and sandwiched the thread in between this.step 7 Step 6

Repeat this process of sandwiching the thread between the brains and stars until you are done!step 8

step 9


This could be done with any stamps and shapes for any occasion – but I love the brains the best!

Happy Crafting,

Nicole

Categories: craft | Tags: , , , , ,

Halloween tag – Timi Konya

Hi everyone, it is Timi here with a fun Halloween tag.

What you will need:

cards stock

Halloween image and media to colour (markers, watercolour) My image is from Tiddly Inks

washi tape

Heat resistant acetate

embossing powder

Spiderweb stamp

Tag and keyhole dies

Step 1

Die cut a tag with a keyhole on it from Halloween coloured cardstock

??????????

Step 2

Print the image.

??????????

Step 3

Colour the image with markers or other media and cut it out.

??????????

Step 4

Stamp the spiderweb on the acetate and heat emboss it with white embossing powder.

??????????

??????????

Step 5

Adhere the acetate on the back of the tag. Cut off the excess.

??????????

Step 6

Add some washi tape and patterned paper to the front of the tag.

??????????

Step 7

Add sentiment, embellishments and the coloured image. And there you have a cute Halloween tag!!

DSCN1636

Any other Halloween projects coming up? Watch this space!

Happy Crafting,

Crafting Ireland Team

Categories: craft | Tags: , , , , , , , , ,

3D Halloween frame – Karen Mathews

Hi everyone,

Today, Karen is sharing a great 3D frame tutorial with us.

Karen says:

This project can be done for any occasion including baby births and Christmas. It is a lovely way to use those precious pieces of paper that you have been saving!

Materials used:

10 x 10 inch Ribba Frame from Ikea

Ranger Ink, Distress Paint in Seedless Preserves and Antique Linen

1 Ranger Inc, No 5 manila tag

Graphic45 Patterned Paper. ‘Halloween in Wonderland’ and ‘Happy Haunting’

Sizzix Bigz die by Tim Holtz: ‘Branch Tree’

Ideology by Tim Holtz: Metal clock and hands and light bulb.

Flowers

Dylusions Sprays: Black Marble, Lemon Zest, Cherry Red and Crushed Grape

Step 1

Paint the frames 2 parts inside and out using the Seedless Preserves Distress Paint.

Photo 1

Step 2

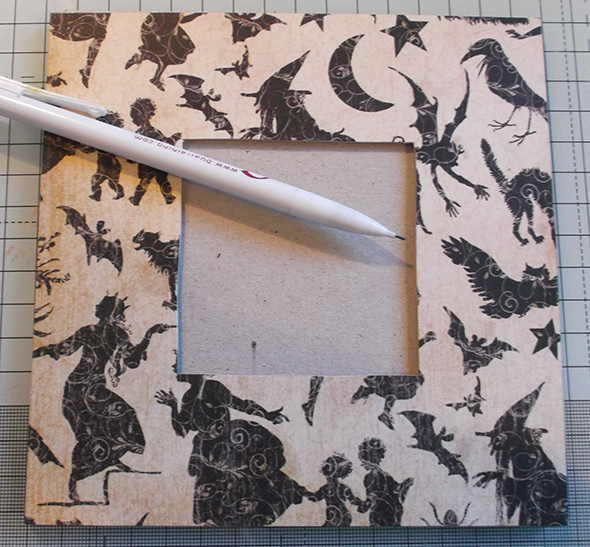
Cut strips of paper to cover the outside of the frame. I left a slight border in order to see the painted surface. Cut additional strips to cover the inside. I used Happy Haunting ‘Bewitched’ paper for this. The front of the frame was then covered using strips of paper from Happy Haunting ‘Midnight Magic’

Photo 2

Photo 3

Step 3

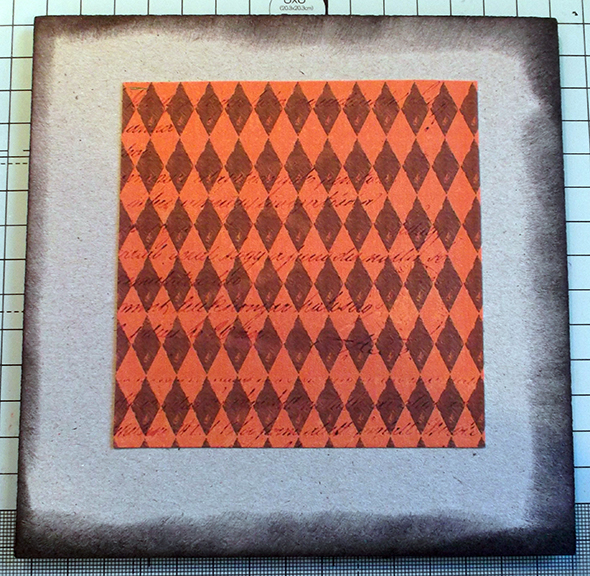
For the main image I chose the ‘Halloween in Wonderland’ paper. Cut the image to size. For the 3d images fussy cut the paper ‘Through the Looking Glass’. This sheet has lots of different images that can be layered up. Using foam pads stick the Mad Hatter and White Rabbit to the background image.

Photo 4

Step 4

Next stick the hand, the fence and the pumpkin to the top of the inner frame.

Photo 5

Step 5

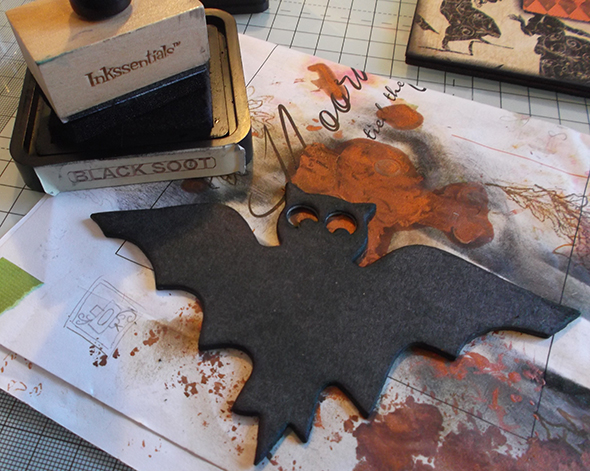
Die cut the Branch Tree from black cardstock and hang pumpkins, clocks and teapots from it. On the outside of the frame stick the tree and the Cheshire cat using foam pads.

Photo 6

Photo 7

Step 6

Paint the face and hands of the clock piece using Antique Linen and Seedless Preserves distress paint. When the paint is dry, gently sand the clock face back to reveal the metal underneath. Stick to background using foam pads.

Photo 8

Step 7

To make the lamp I stole a little wooden lamp from my daughters Dolls House! Paint the base with Seedless Preserves distress paint, and then cover the lamp with patterned papers. Add a light bulb which has been coloured with alcohol inks to the top of the lamp and stick inside the frame.

Photo 9

Photo 10

Step 8

Spray some white flowers with Dylusions inks and add both inside the frame and to the front of the frame.

Photo 12

Photo 13

What a great 3D project!!

Happy Creating,

Crafting Ireland Team

Categories: craft | Tags: , , , , , , ,

Completed Mini Album

Hi everyone,

Its Nicole here with photos of the finished mini album from our Ustream class from Saturday. A big thank you to everyone who stopped by and joined us during the class. You can watch the class back here if you missed it. I did try to make a video of the album instead of having a very photo heavy post, but unfortunately my camera was not co-operating! All supplies used in the class can be found here. So all the photos are below, I hope they give you some ideas on how to decorate chipboard mini albums for Halloween!


Categories: craft | Tags: , , , , , , , , ,

Want to win??

The GBCE is approaching fast, have you booked in yet? It takes place on the 5th – 7th October. All information can be found on the blog here. Crafting Ireland are attending on the Saturday and Sunday and are teaching classes and doing demos and make and takes all weekend.

CHALLENGE TIME

We will also be running a challenge all weekend. The challenge theme is Autumn/Halloween. All you need to do is create any project following this theme and email a photo of your entry to us at submissions@craftingirelandonline.ie or come up to us on the weekend with your entry for us to photograph. Entries will be accepted starting on the 5th October and final entries must be emailed by the 7th at 2pm. The winner will be announced on the 7th with a fab prize up for grabs!

So get your crafty thinking hats on and make sure to bring supplies to create an Autumn/Halloween project to get creating on the weekend!


Categories: craft | Tags: , , , , ,

Completed Project & Next Class

A big thank you to everyone who logged in and joined in the crafty fun last night. We hope you are all enjoying your newly decorated arty lunch boxes! If you missed the class you can watch it online here. Below are a few pictures of the finished product made in the class by Timi.

We would love to see your creations, so if you want to post them to our Facebook wall when you are done there may be some goodies up for grabs!

NEXT CLASS

Our next online Ustream class will take place on the 20th October. Nicole will be creating a Halloween themed mini album. Full information and a supply list will be posted up soon. But see a sneak peek of the products she will be using below….

Categories: craft | Tags: , , , ,