Uncategorized

Fabric cover for your notes – Katya Ivanova

Hi everyone,

Today Katya is sharing a quick tutorial on how  to make a fabric cover for a sticky note block. I had a few small strips of fabric left over from making some albums and I decided to use up the fabric scraps. A quick present idea for schoolkids, students, office workers or teachers.

What you will need:
fabric
fleece
cardstock
brads
scrap paper
sticky note block
embelishments- buttons, brads, flowers -whatever you like.

003
Step 1

Get the base ready- cut out 2 pieces of cardstock measuring 8cm by 8 cm and one measuring 1cm by 8 cm. Iron the fabric

1

Step 2

Lay the cardstock on top of the fleece, leaving a small gap between pieces of cardstock

2

Step 3

Moving onto the cover, first glue the corners and then the sides. Before we cover the inside of the block with papers, we need to decorate the cover.

3
Step 4

To decorate the cover I added a small scrap of paper so that I could hide the ribbon under it. And then I added some brads, make sure you are using embellishments which wont easily come off.

4

Step 5

Final touch cover the inside with coordinating papers

103


we hope you liked this very cute idea and will try it out too.

Happy Crafting,

Crafting Ireland Team

Categories: Uncategorized | Tags: , , ,

Autumn Glory Mixed Media Canvas

Hi everyone,

Today we have another fantastic guest blogger, Debbie von Grabler-Crozier at The Folk Art Factory. Please visit Debbie’s blog to see more of her fabulous creations.

Gather These Supplies:

  • 1 canvas 20cm x 37cm
  • DecoArt Decoupage glue/sealer: antique
  • DecoArt Dimensional Effects paste
  • Stylus
  • Palette knife
  • DecoArt Traditions Brushes: ¾ flat brush.
  • Old book pages
  • Matte black paper
  • Neutral coloured paper scraps
  • Tim Holtz Distress Inks: barn door, rusty hinge, spiced marmalade, walnut stain, peeled paint
  • Ink Applicator tool
  • Ranger Archival ink: jet black
  • DecoArt Acrylic Paints: soft black
  • DecoArt dazzling Metallics: champagne gold
  • Alphabet stamp set
  • Sea sponge
  • Sizzix Big Shot
  • Tim Holtz Alterations dies: Tattered Leaves, Raven and Scaredy Cat

Here is how:

Use the ¾ flat brush and the decoupage sealer to coat the canvas with the book pages.

Autumn Glory Canvas M (3) (Medium)

When this is dry, make a small area of Dimensional Effects paste in the top right hand side of the canvas. Spread this out with the palette knife just like putting butter on bread. Do not make it too thin in the middle but blend it towards the edges so that it is thin and disappears into the book pages.

Autumn Glory Canvas M (5) (Medium)

TIP: wet your finger and use that to really smooth the edges.

Use the stylus to scratch a spider web design into the paste before it dries.

Autumn Glory Canvas M (7) (Medium)

Allow this to dry and then paint it champagne gold. Allow this to dry and then sponge (with the dampened sea sponge) soft black over the top so that a silver cobweb is visible.

Autumn Glory Canvas M (9) (Medium)


Extend the soft black sponging right around the edge of the canvas, blending softly.

Use the Big Shot and the leaf die with some of the neutral paper to make a few Autumn leaves. Use the applicator tool to shade them with the distress inks. Begin with peeled paint then add some rusty hinge and spiced marmalade. Finally, burnish with barn door and walnut stain.

Autumn Glory Canvas M (11) (Medium)

TIP: for full instructions step-by-step plus some other colour options refer to my blog

http://sallyandcraftyvamp.blogspot.co.uk/2013/11/making-fall-leaves-from-paper-as.html

Take the alphabet stamp and the neutral paper and write the words ‘seek’, ‘Autumn’ and ‘wonder’ with the jet black ink. Cut the labels down and ink the edges with walnut stain. Cut a raven and a cat from the matter black paper using the die.

Assemble the rest of the canvas with the words stacked on top of each other on the left hand side. The raven goes on the bottom left hand corner and the cat perches on the top label as you see in the main photo. Scatter the leaves around the other images at random.

Autumn Glory Canvas M (13) (Medium)

TIP: it looks better to have some of the elements overlapping so put a leaf partly under or over a word and group some together. This takes planning so lay it all out before you start gluing. Never be afraid to add another leaf or leave one out depending on what appeals to you.

TIP: cut some of the leaves in half and lay them half off the canvas. This also looks stylistically better than everything in the middle of the canvas.

Adhere all of these elements with the decoupage sealer and ¾ flat brush.

© Debbie von Grabler-Crozier 2014

We hope you liked this fantastic mixed media canvas project. Why don’t you give it a go and get your house ready for Halloween!!

Happy Crafting,

Crafting Ireland Team

Categories: Uncategorized | Tags:

Autumn Easel Card – Katya Ivanova

Hi everyone,

Today it is Katya who is going to share an Autumn themed easel card with you.

What you will need:

  • cardstock
  • scrapbooking papers
  • raffia
  • twine
  • flowers
  • chipboard
  • cheesecloth
  • leaves or leaf punch
  • sentiment

006

Step 1

Take card base, my was 13cm by 13cm and score one side of the card at 6.5cm and fold it inwards. And we also need a second piece of cardstock, also measuring 13cm by 13cm.

1a

1
Step 2

Choose your papers- since I was going with an autumn theme, I picked wooden print, maroon and orange. Distress the edges with some ink

2

Step 3

Decorate the inside of the card. Place the die cut near the top so it wont be visible when you fold the card. Also cover the front of the card with papers

3

3a

Step 4

Decorate the front of the card. I used flowers,  cheesecloth, leaves, berries, twine and a chipboard bird

4

Step 5

To stop the card from sliding down and closing, add something to the lower part of the card. In my case I used a wooden circle with the words I love fall


5

Step 6

Final touch- add some glossy accent to imitate rain drops

6


This is how the final project looks like!

055


We hope you like this card and we inspired you to create something with autumn colours.

Happy Crafting,

Crafting Ireland Team

Categories: Uncategorized | Tags: , ,

Stop and Stare Layout – Timi Konya

Hi everyone,


It is Timi here a quick Scrapbook page.

What you will need:

White cardstock

Stencil

Spray ink

patterned paper

embellishments


Step 1

Using a stencil spray some ink on the white card stock to create a background.

DSCN2622

Step 2

Add some splashes with the same ink on the page.

DSCN2623

Step 3

Add a second colour for more interest.


DSCN2628

Step 4

Cut patterned paper to the same height as you photo. You don’t need to use a paper trimmer. Just eye ball it and use your scissors.

DSCN2627


Step 5

Start layering a piece of glassine envelope, journalling card and the photo with the patterned paper. You can add the title too.

DSCN2630


Step 6

Cut a very narrow strip of paper to place on the top of the page and another one or two to the bottom.

DSCN2631

Step 7

Add embellishments to your page and finish it with journalling.

DSCN2634

Some close ups:

DSCN2636

DSCN2639

DSCN2640


If you would like to know how I created the custom title watch this space, we will be back with some fun techniques next week!

Happy Crafting,

Crafting Ireland Team


Categories: Uncategorized | Tags: , , , , , ,

Project Life – Week 29 – Timi Konya

Hi everyone,

It is Timi back with another quick Project Life page.

Recently I discovered a blog with lots of label print and cut files. I love adding labels to my PL pages, so I was delighted when I found this blog.

I use my Silhouette Cameo to print and cut out all the labels and it really only takes a couple of minutes to have lots of different labels.

As always  I started with placing my photos on my desk.

DSCN2582

Then I filled the gaps with some Project Life cards. Most of the card are from the Dear LizzyDaydreamer Collection.

DSCN2585

The next step was to place some of the labels on the photos. I like to place some of the label a little bit off the page to add a bit more interest.

Labels are great to use when you have lots of photos in a spread and you don’t really have space left for journalling.

DSCN2588

Photography tip: There are lots of colourful walls, doors and gates in Dublin. I like to use them as background in my portrait photos.

DSCN2589

I also added some woodveener shapes.

The next step is then to add some letterstickers, rub-ons and some more embellishments.

DSCN2593

DSCN2595

Some close ups:

You can use the labels to anchor a page element, so that those elements don’t just float on the page. I used two labels and place under my title.

DSCN2597


If you use a piece of memorabilia (like I did with this screen-print) don’t be afraid to add some decoration to it. Here I added one label sticker that already had some text on it, and I drew some lines with a ruler for my journalling.

DSCN2598


You could also add stamping details to journalling card that has a title already printed on it.

DSCN2599

This is my final Project Life spread for Week 29

DSCN2600

DSCN2602


I hope you liked these pages and found some inspiration in them.

Happy Crafting,

Crafting Ireland Team


Categories: Uncategorized | Tags: , , , ,

Craft room Tour – Gill Comerford

Hi everyone,

We are back today with a peak into one of our readers, Gill’s craft room. Gill lives in a small town near Dublin and we are delighted that she si going to show us her very own, creative space

Gill:

This is my little crafting haven!  It was originally a very small bedroom, but with some careful planning and numerous trips to IKEA, I managed to make the most out of the small space.


I have (almost) completely converted over to pocket scrapbooking so my room layout is set up with that in mind.

CraftRoom01


My most recent purchase is the Raskog cart.  I use the first two shelves for storing Project Life cards.  I have a segregated storage box in the top one which was a lucky find in TK Maxx, and I used pieces of chipboard to make dividers/labels.  The second shelf has an IKEA Antonius insert which stores 3×4 and 4×6 cards perfectly.  I keep the cart beside my work desk so I have easy access to my Project Life cards.  This would also be a good storage solution for anyone who doesn’t have a room specifically for crafting, as it has coasters for moving it around from one room to another.

CraftRoom02

CraftRoom03

CraftRoom04

CraftRoom05


The Antonius insert is also a handy storage system for small crafting items like washi tape, embellishments, adhesives etc.  I have two of them at the end of my main desk and I love them as I have all the items I need close at hand and nicely organised.

CraftRoom08

CraftRoom06


I keep my collection of Project Life page protectors stacked in a large box at the other end of my main desk. This way they are easy to flick through to find the layout I need.

CraftRoom07


On the opposite wall, I have an Expedit Unit from IKEA in the 2×2 format.  The sections are perfect size for storing albums (both Project Life and traditional). 

In the top right section I have a Kvissle Letter Tray It is actually designed to hold A4 sized paper but I use it for 12×12 scrapbooking paper – the trays pull out so I have them all pulled out slightly from the holder so that the bigger sized paper will fit. It works perfectly for keeping my papers in some sort of order. I have a fairly big collection of paper/cardstock and I find this unit great for sorting the different patterns in loose categories (floral/stripes/multi-colour etc)

CraftRoom10


Beside the Expedit Unit is a Norbo Table which is a drop-leaf design.   It works well in the small room as it can be lowered against the wall to open up the space if necessary.


The organisers on the wall with the baskets and holders are from the IKEA Bygel range. They have two different lengths of bars which you mount on the wall and then a selection of different attachments for them. It’s a really great way of getting storage into a small space without using up vital workspace on the desk. I also have a few of them hanging on the sides of the Raskog cart.


Bygel Rail
Bygel Basket
Bygel Container

CraftRoom09


The thick shelves on either wall are from the Lack series and the cute glass jars are yet another IKEA bargain perfect for storing small embellishments!

CraftRoom11

CraftRoom12


So, in short, my solution for craft storage in a small room is a trip (or two!) to IKEA  🙂

This is fantastic!! We love the great space saving ideas in this beautiful craftroom. We love IKEA for all the great storage solution and of course their prices range is affordable which is an added plus.

Big Thank you to Gill, who let us into her crafting haven!

Crafting Ireland Team


Categories: Uncategorized | Tags: , ,

Triangles – Scrapbook Page -Timi Konya

Hi everyone,

It is Timi here with a scrapbook page tutorial. Recently I am really into geometric designs. They look so fab on scrapbook pages too. Here’s how I created a page with all lots of colours and triangles.

What you will need:

  • Patterned paper
  • washi tape
  • doily paper
  • labels
  • chipboard – wood veneer pieces

Step 1

Take the patterned paper that you want to use. I chose one with lots of triangles and the other one had some light pattern on it, I chose the latter one for the background.

DSCN2464

Step 2

Layer the photo you are going to use on some smaller pieces of patterned paper. I used I layer of white copy paper and two layers of patterned paper.

DSCN2467

Step 3

Cut out some triangles, small ones and bigger ones.


DSCN2468

Step 4

Add some ink splashes to the background.

DSCN2471

Step 5

Place the photo where you want it. Layer it with a piece of doily paper and some labels. Here you can add some other embellishments too.

DSCN2473

Step 6

I added a strip of grey-white patterned paper to the top of the page. And placed the triangles on the left hand side of the page. By now I decided that I wasn’t happy with the orange label, so I changed it to a light pink one.

DSCN2476

Step 7

For more interest I drew some straight but sketchy lines around some of the triangles and the photo.

DSCN2478

DSCN2479


Step 8

Add your title and journalling. I change the layout a little bit along the way. I took the ‘remember’ mini title from the top and completed my main title with it.

Remember to add some washi tape too for more interest.

DSCN2487


DSCN2481


I hope you like this page and you will enjoy creating something with geometric shapes too.

Happy Crafting,

Crafting Ireland Team

Categories: Uncategorized | Tags: , , , , , ,

Playing catch up in my Project Life – Timi Konya

Hi everyone,

This is Timi here today and I will share  my ’10-step catch up in Project Life’ workflow.

I’m sure it is the same with everyone. We are all so enthusiastic about project life when the new year comes, but then life gets busy and we hardly find any time to sit down and fill those plastic pockets.

I can admit that I had my project life done up to Week 7 and since only week 10 and no more. So that is about 13-14 weeks of Project Life material to process.

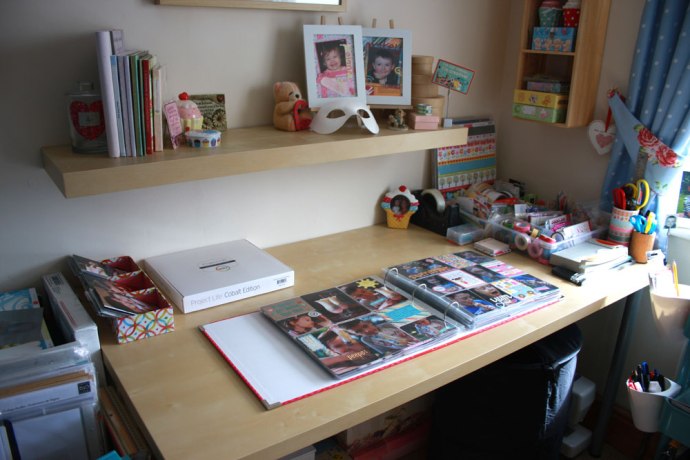
I do project life in a very relaxed way, I don’t stick to a full spread every week. And for this reason I purchased 1 full box of design A and a full box of mixed design page protectors. The smaller page protectors come in handy when I only have a few photos for a week.

So this is how I approached this 13-14 this time.

Step 1

Look through all the sources of photos: cameras, phones tablets etc… I always ask my BF to share his photos with me, so I can have a good browse and see if there’s anything I want to use.

Step 2

I put photos from each week into separate folders on my computer. When I’m not too busy I spend some time on planning a spread, but this time I just processed everything in Lightroom. All the landscape pictures were printed in 4×6 or 4×4. All the portrait pictures on 3×4.  I usually send them over to Snapfish and get them printed there.

Step 3

Gather all the memorabilia: tickets, receipts, maps, business cards, packaging etc… I found that the best way for me is to keep them all in a box and just put a little piece of post it on them with date or a small bit of journalling.

Step 4

When my photos arrive in the post I cut the smaller photos out and write the week number on the back and pile them up week by week.

Step 5

I organise my PL cards and take all my 6×6 paper pack out. I like to arrange them into little piles by colour, this makes it easy for me to mix and match the cards I want to use.

Step 6

Depending on the amount of photos I have for the week I insert pocket pages. Sometimes it is a small insert page and other times it is a full double page spread. This time I found that I only had very few pictures from week 13 to week 15, so I decided to include all into one spread. I will then adjust a title page accordingly.

Step 7

Place the photos into the pockets and fill them with some PL cards. I often find that the photos don’t really coordinate in colour. My solution is to mat all the photos onto coordinating patterned paper or cardstock and use the same colours for embellishing too.

Step 8

Create the title cards. Here is how I made 5 title cards in just a few minutes. This idea will result in similar title cards but it is easy to coordinate them with the colour scheme of the page with adding the numbers and dates in different colours.

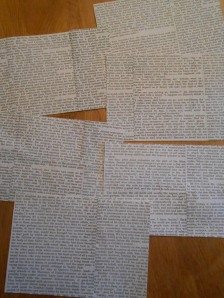
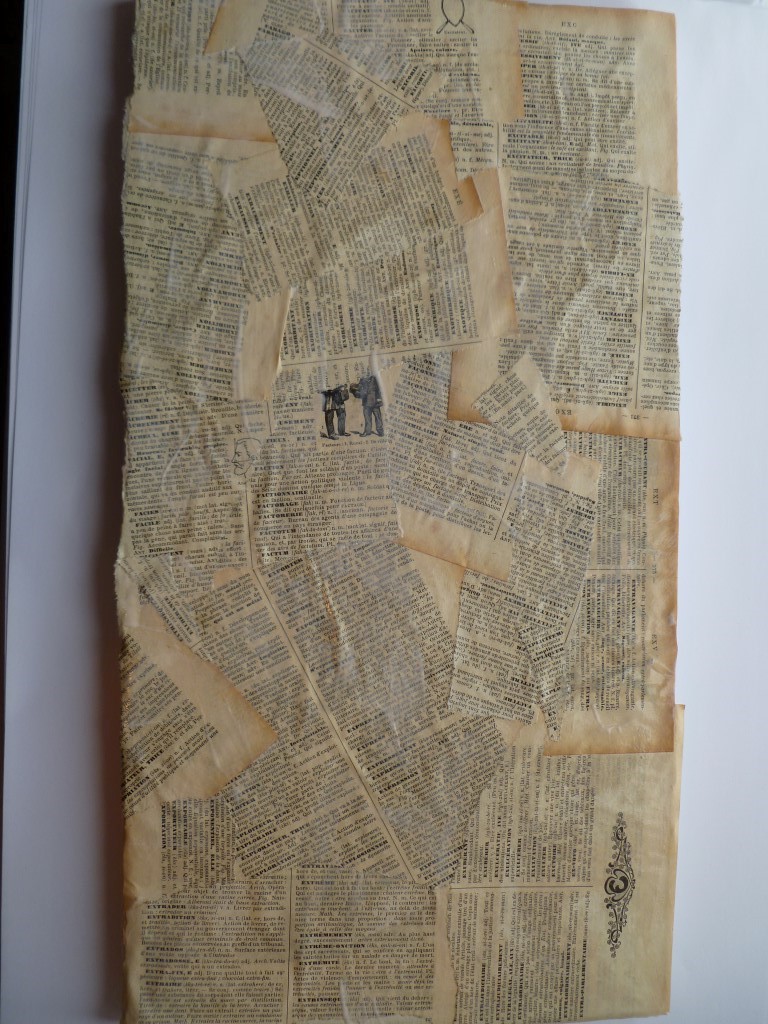
  • Take a piece of cardstock and some book paper ( I got a book from the charity shop that had white paper)

DSCN2430

  • Using gel medium adhere all the book papers to the cardstock

DSCN2432

  • When it’s dry cut it into 4×6 pieces

DSCN2433

  • Using a round brush and india ink hand write the word ‘week’ or ‘wk’ on the individual cards.

??????????

  • Add letter stickers or numbers to finish the title card.

Step 9

Add journalling cards, labels, tags. Anything that you want to put your journalling on. I prefer to hand write my journalling, I find it a lot quicker.

I always keep a  lined notebook handy, this way I can create my journalling card just in a minute, just back the piece of notepad with some cardstock or patterned paper.

Step 10

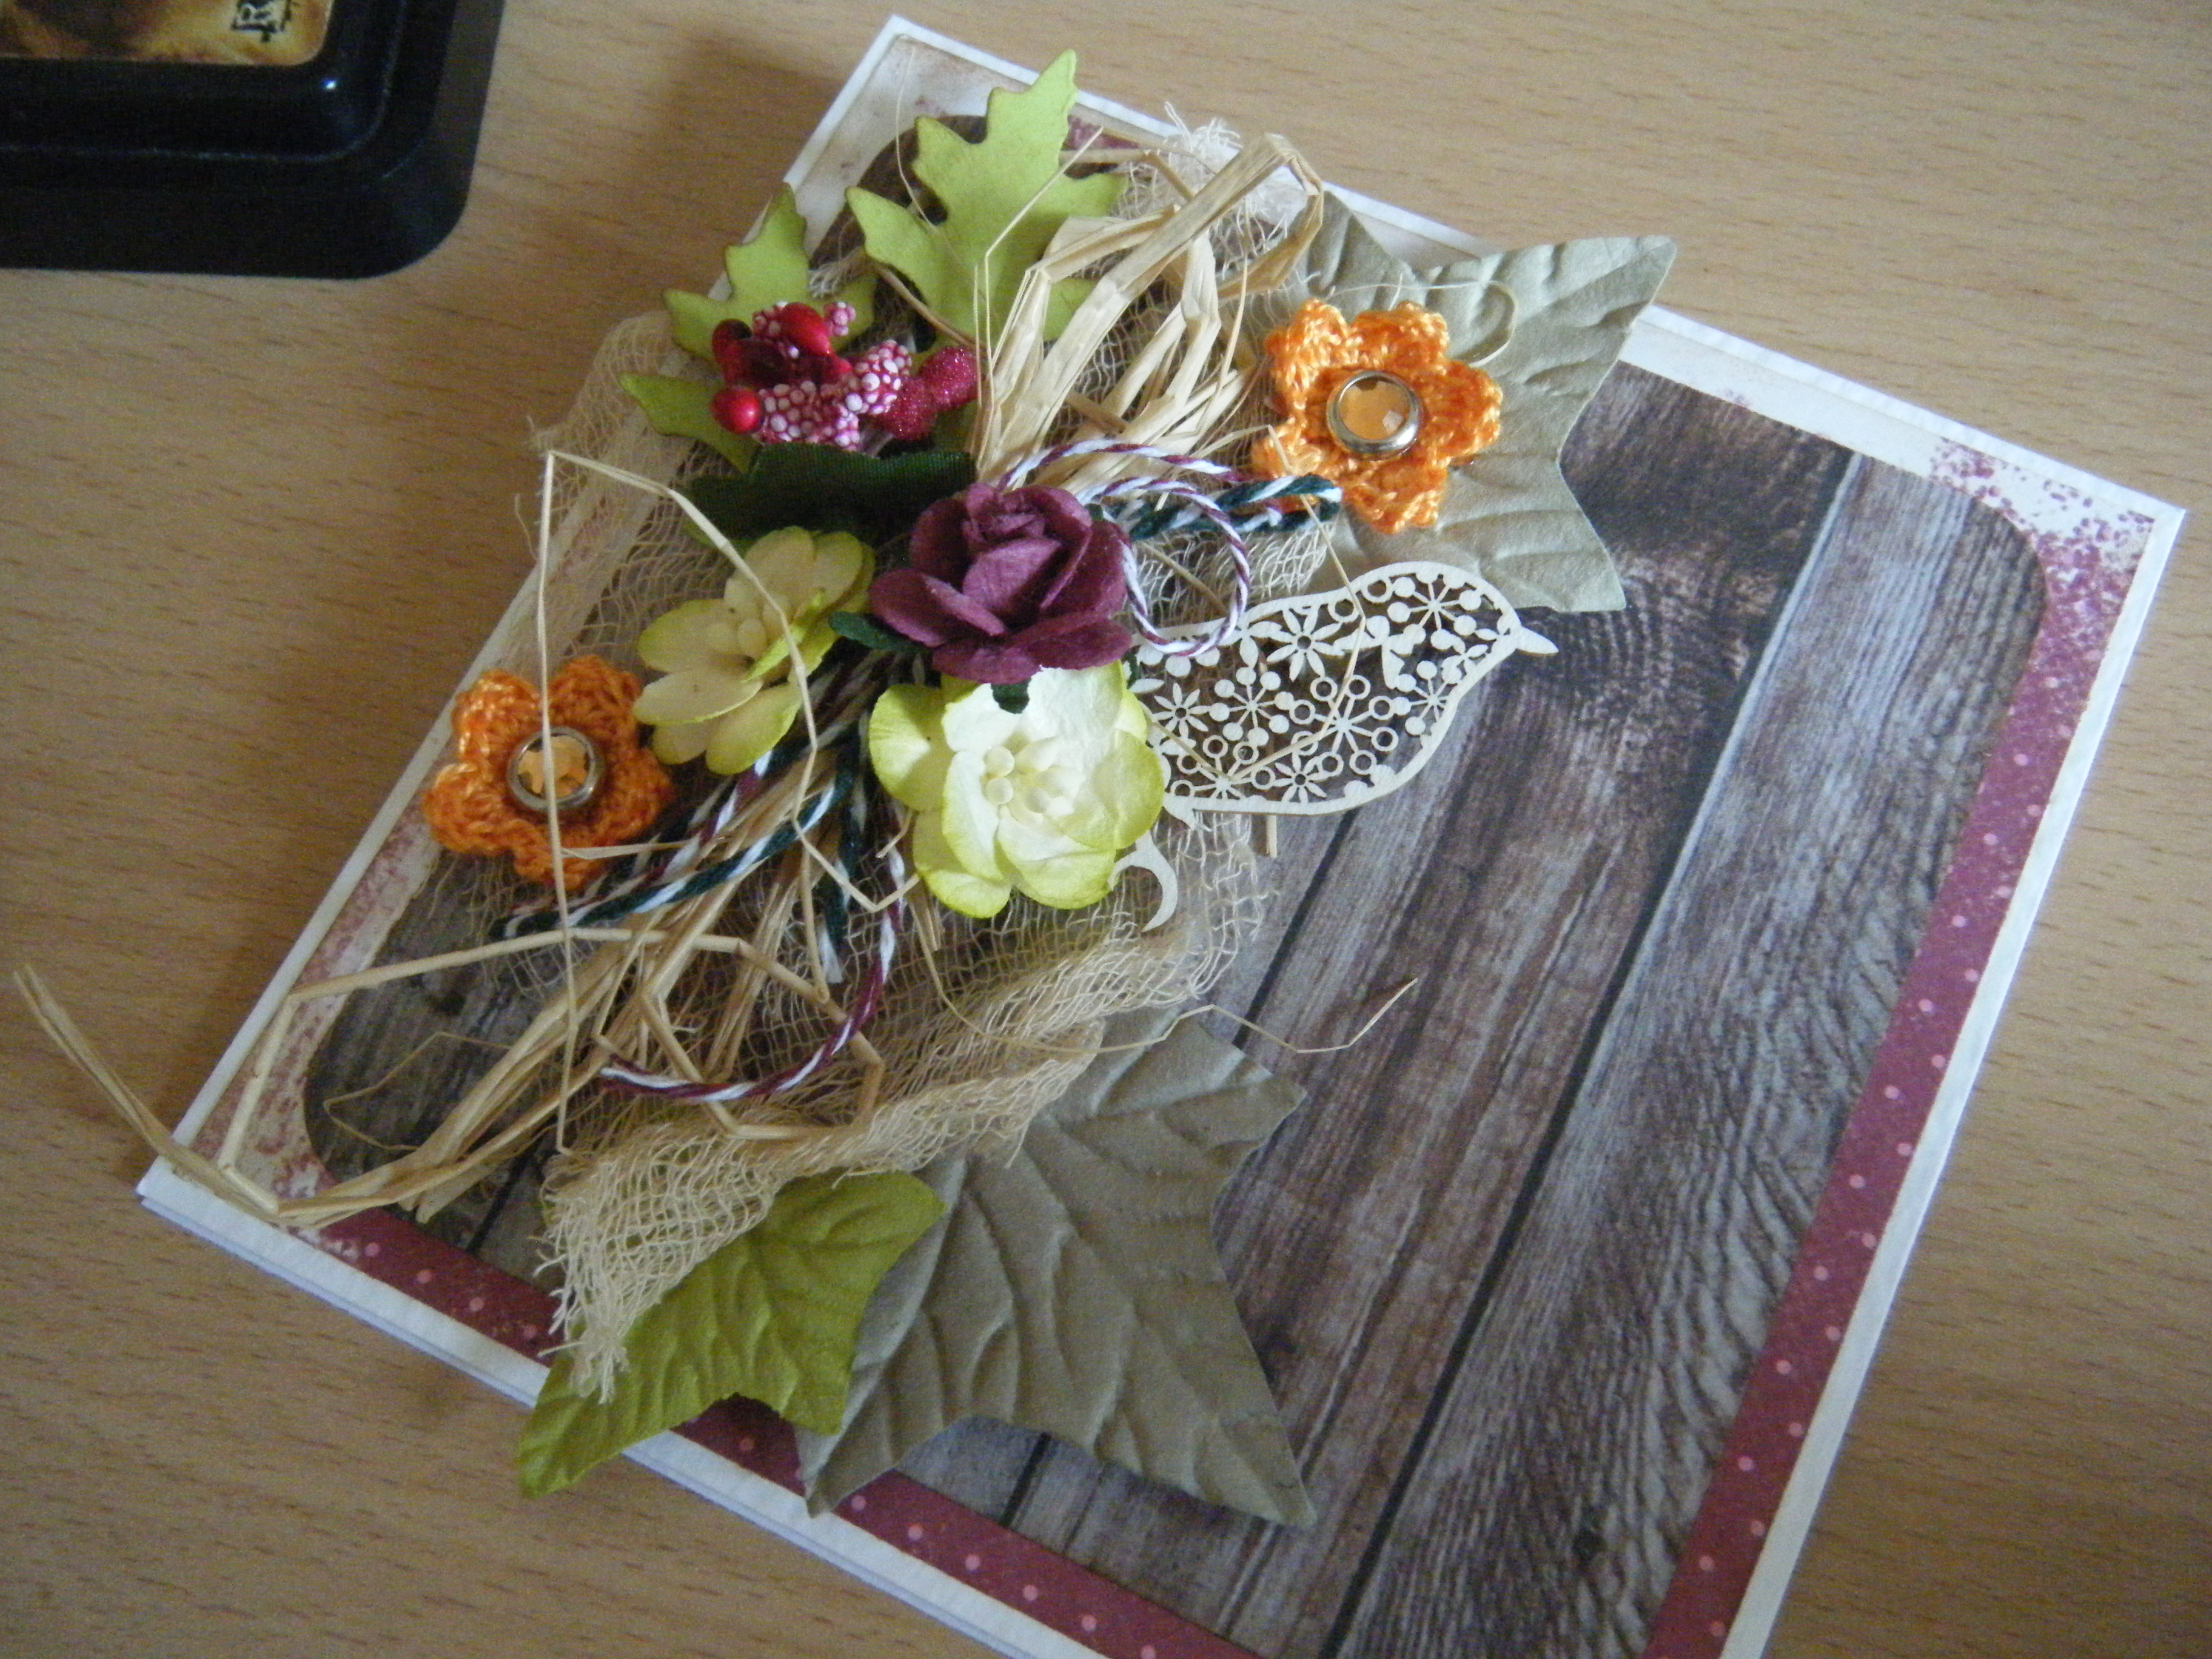
Embellish the pages. If you feel behind and really want to catch up with your project life try and go clean and simple. You can use washi tape and enamel dots, they are quick to add some interest to a page.


So this is how I approached my catch up in my Project Life and I managed to do it all in about a week working only one or two hours with it at a time. Being caught up is a bit overrated, but I find it very satisfying when I am mostly up to date with my Project life. I don’t stick strictly to any rules with my Project Life, I found it a lot less stressful when I take every week as they are. If there aren’t many photos or just a small bit of journalling, that is also OK with me.

Share your PL adventure with us and let us know what tricks you use to keep up with your Project Life.

Happy Crafting,

Crafting Ireland Team

Categories: Uncategorized

Picture Frame in pocket scrapbooking style – Timi Konya

Hi everyone,

Today we are going to show you a very quick but cute project. As I was browsing in the shops a few weeks ago I saw this picture frame. It reminded me of Project Life and pocket style scrapbooking. I thought it would be fun to fill it with a few picture and decorate it.

I have received a new very cute package of chipboards from Scrapfellow, and decided that Travel will be my main theme.

DSCN2094

I choose my photos that would fit nicely in the “pockets”. There were three small frames in this frame collage, so I decided to put pictures into two and have the third one as a title frame, like you would have a title pocket on a Project Life spread.

DSCN2095

I found some travel themed papers as well. I only had the 6×6 pad and the biggest frame was a bit bigger than that, so I patchworked two patterned papers to fill in the whole frame.

??????????

My pattern papers were pretty busy and the photos were black and white, so I just matted the photos on white copy paper. I didn’t leave too much of an edge, just so the white copy paper peaks out from under the photo.

??????????

I cut out a bingo card element from the paper collection and used a small frame from Hello Forever. I just loved the globe from Scrapfellow, so I added that too.

In the first smaller frame I just added a geo tag to the photo. It was a great photo, I didn’t want to overcrowd the frame.

??????????

I created the ‘title pocket’ in the other smaller frame. I chose a patterned paper and just added a chipboard title from Scrapfellow. I stamped the date and added another chipboard piece, this time a little airplane. I also left some space for a little handwritten description.

DSCN2108


This is how it looks all in the frames.

??????????

I hope you liked this idea and for more fantastic products from Scrapfellow visit their website here.

Happy creating,

Crafting Ireland Team

Categories: Uncategorized | Tags: , ,

Love Book Canvas

Hi All,

Nicole here today to share a fun little canvas I made with you all. It has lots of texture and dimension but it is very simple to put together.

What you will need:

  • Canvas
  • Paint
  • Background stamps
  • Adhesive and foam squares/tape
  • Gel medium or similar
  • Crackle paint
  • Embellishments

Step 1:

Paint your canvas. I used a small 15cm x 15cm canvas. It cost me €2 in a Tiger store! I used a copped colour paint and gave it two coats to make sure all the white was covered. Make sure to paint right around the edges also.

pic 1 pic 2

Step 2:

Using a script background stamp I stamped all around the edges of the canvas. I didn’t worry about the middle as I knew it wouldn’t be seen.pic 3

Step 3:

I cut out some old book pages. I cut them down to recreate a double page spread on my canvas. I left the inside edges perfectly straight but the outer edges I tore up to give an uneven look. I inked the pages up to distress and age  them more.pic 4 pic 5

Step 4:

I applied a coat of gel medium on the back of what will be my bottom 4 pages on each side. I did not ink the back sides as you won’t see them. The gel medium just adds some rigidity to the pages for when they are on the canvas. You can see these pages in the image on the left below. On the right of the image are my two top pages. These will be the first pages on my ‘book’. I applied a coat of clear rock candy crackle paint on these to really distress them up even more.pic 6

Step 5:

I glued my first pair of pages onto the canvas. I found the center point of the canvas and used this as a guide for the straight edge of my book pages. I only glued down the center of the pages and left the outside edges to curl naturally.

pic 7

To keep this curl and dimension I added some very thick foam pads….pic 8

Step 6:

I then layered the rest of my pages over these first ones. I again only glued the centers down and left the edges loose to curl naturally.pic 9 pic 10

Step 7:

I used some chipboard shapes for embellishments on my canvas. I inked these up using distress inks and then applied a layer of the clear rock candy crackle paint over them to give a more aged look again. I adhered these across my faux book using the same high foam pads and had fun layering them over one another. I doubled the foam pads on the bird so that it would sit above the branch and to allow for the difference in height on my canvas from the center of the faux book pages and to the edges.pic 11

I also added some scrabble tile letters that I inked to age further. You can see the crackle and aging on the paper quite well in the image below.pic 12

And here it is all completed. I wanted it to look like an old book on a canvas and nice muted aged colours.

complete 1 complete 2,

Categories: Uncategorized | Tags: , , , , , , ,