Hi everyone,
Today we have another fantastic guest blogger, Debbie von Grabler-Crozier at The Folk Art Factory. Please visit Debbie’s blog to see more of her fabulous creations.
Gather These Supplies:
- 1 canvas 20cm x 37cm
- DecoArt Decoupage glue/sealer: antique
- DecoArt Dimensional Effects paste
- Stylus
- Palette knife
- DecoArt Traditions Brushes: ¾ flat brush.
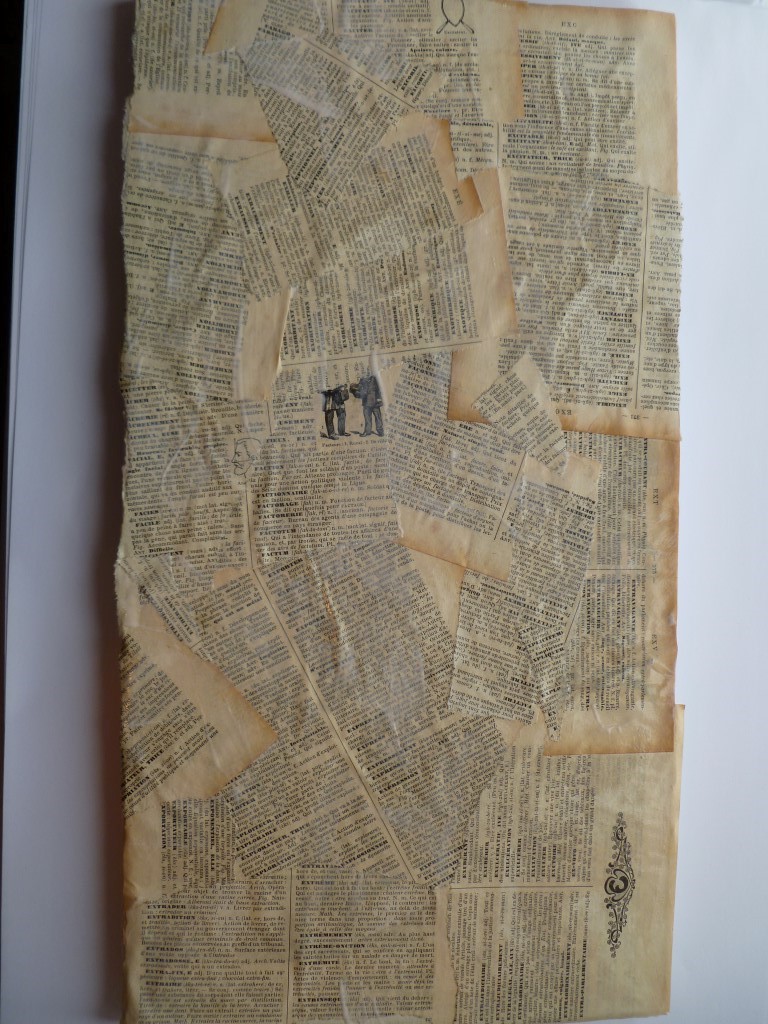
- Old book pages
- Matte black paper
- Neutral coloured paper scraps
- Tim Holtz Distress Inks: barn door, rusty hinge, spiced marmalade, walnut stain, peeled paint
- Ink Applicator tool
- Ranger Archival ink: jet black
- DecoArt Acrylic Paints: soft black
- DecoArt dazzling Metallics: champagne gold
- Alphabet stamp set
- Sea sponge
- Sizzix Big Shot
- Tim Holtz Alterations dies: Tattered Leaves, Raven and Scaredy Cat
Here is how:
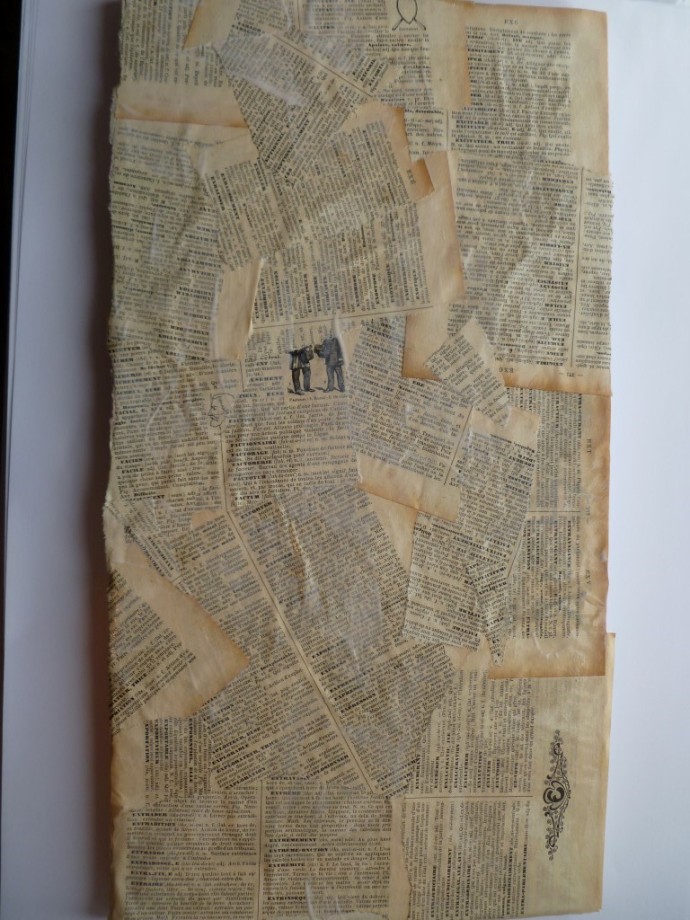
Use the ¾ flat brush and the decoupage sealer to coat the canvas with the book pages.
When this is dry, make a small area of Dimensional Effects paste in the top right hand side of the canvas. Spread this out with the palette knife just like putting butter on bread. Do not make it too thin in the middle but blend it towards the edges so that it is thin and disappears into the book pages.
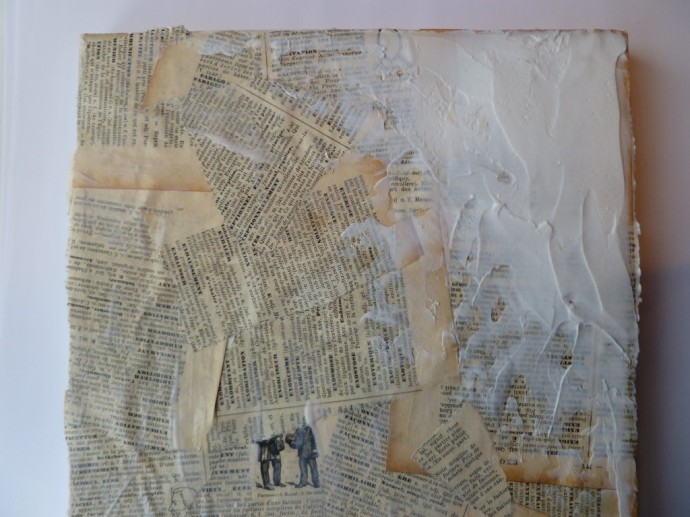
TIP: wet your finger and use that to really smooth the edges.
Use the stylus to scratch a spider web design into the paste before it dries.
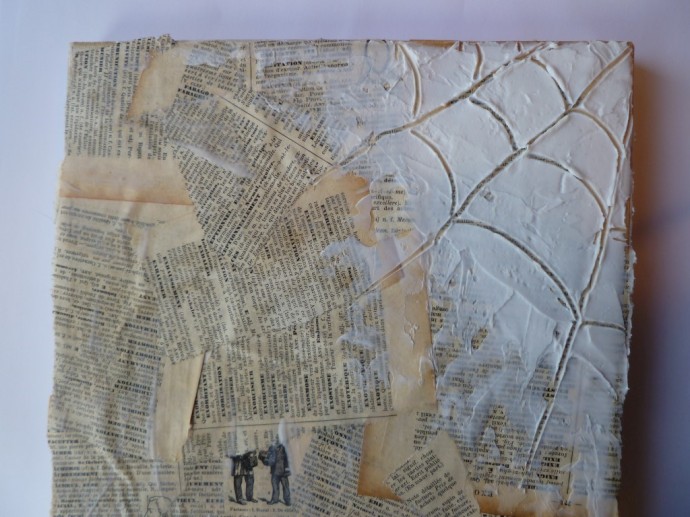
Allow this to dry and then paint it champagne gold. Allow this to dry and then sponge (with the dampened sea sponge) soft black over the top so that a silver cobweb is visible.
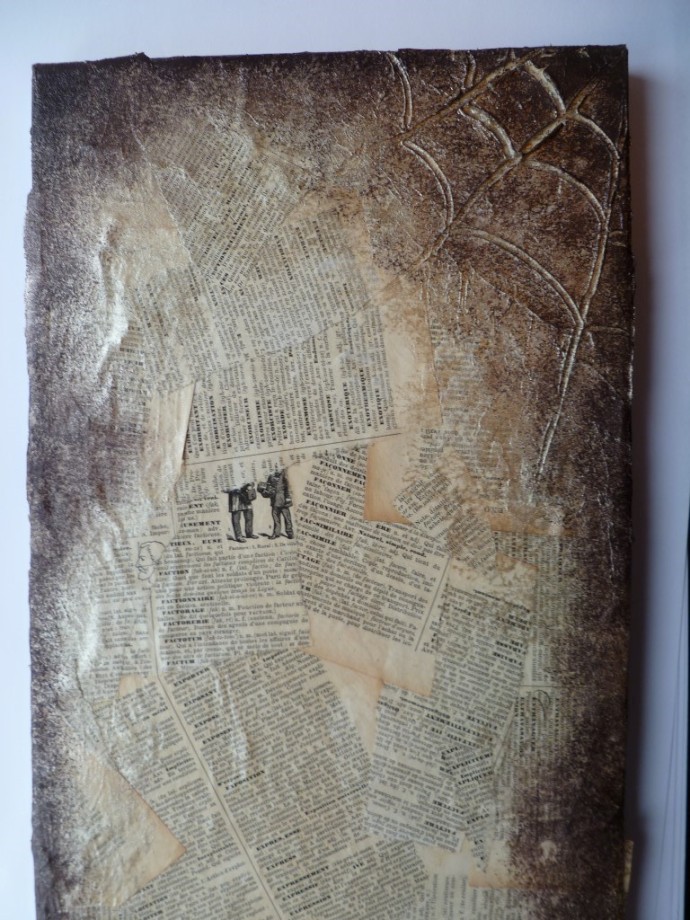
Extend the soft black sponging right around the edge of the canvas, blending softly.
Use the Big Shot and the leaf die with some of the neutral paper to make a few Autumn leaves. Use the applicator tool to shade them with the distress inks. Begin with peeled paint then add some rusty hinge and spiced marmalade. Finally, burnish with barn door and walnut stain.
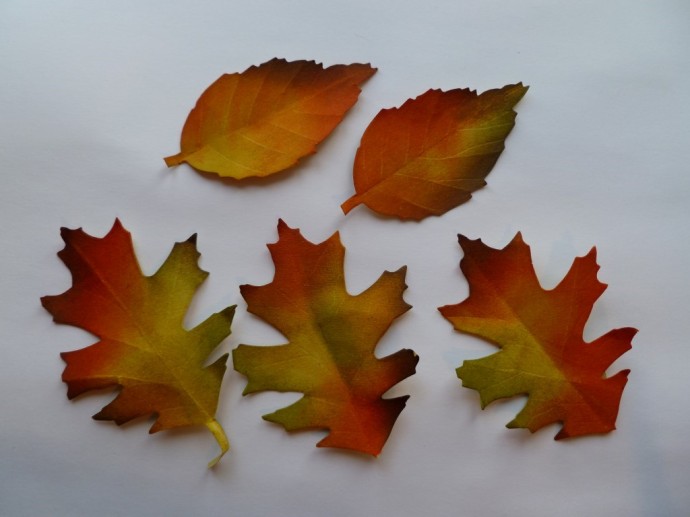
TIP: for full instructions step-by-step plus some other colour options refer to my blog
http://sallyandcraftyvamp.blogspot.co.uk/2013/11/making-fall-leaves-from-paper-as.html
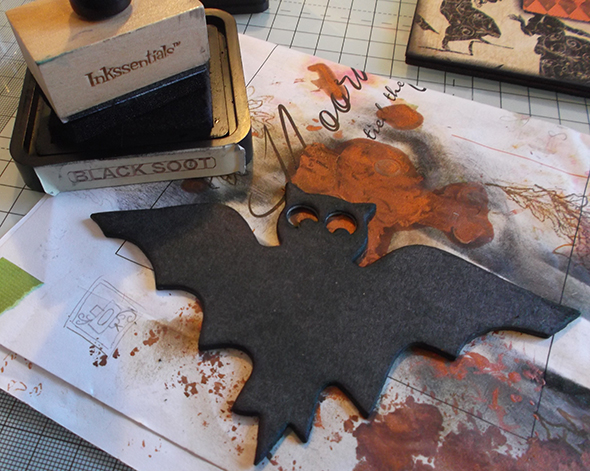
Take the alphabet stamp and the neutral paper and write the words ‘seek’, ‘Autumn’ and ‘wonder’ with the jet black ink. Cut the labels down and ink the edges with walnut stain. Cut a raven and a cat from the matter black paper using the die.
Assemble the rest of the canvas with the words stacked on top of each other on the left hand side. The raven goes on the bottom left hand corner and the cat perches on the top label as you see in the main photo. Scatter the leaves around the other images at random.

TIP: it looks better to have some of the elements overlapping so put a leaf partly under or over a word and group some together. This takes planning so lay it all out before you start gluing. Never be afraid to add another leaf or leave one out depending on what appeals to you.
TIP: cut some of the leaves in half and lay them half off the canvas. This also looks stylistically better than everything in the middle of the canvas.
Adhere all of these elements with the decoupage sealer and ¾ flat brush.
© Debbie von Grabler-Crozier 2014
We hope you liked this fantastic mixed media canvas project. Why don’t you give it a go and get your house ready for Halloween!!
Happy Crafting,
Crafting Ireland Team


